
3 Free Ways to Instantly Improve Your Church Graphics
When it comes to church design, it’s easy to feel stuck. Whether you’re brand new to making graphics for your church or you’ve been doing this for years, we all need help sometimes. I sure did when I was starting out—just look at some of my first designs (yikes 😅).
The good news? You don’t need expensive software or the latest design trend to level up your church graphics. In fact, here are 3 free, simple tips that will make your church visuals look better immediately.

Everyone has to start somewhere—this design of mine from Fall 2020 breaks all three design rules I’m going to encourage below!
1. Information Hierarchy
Good design is about good communication. And good communication is about leading the viewer on a journey. Every graphic should clearly show the viewer what’s most important, what’s secondary, and what’s background.

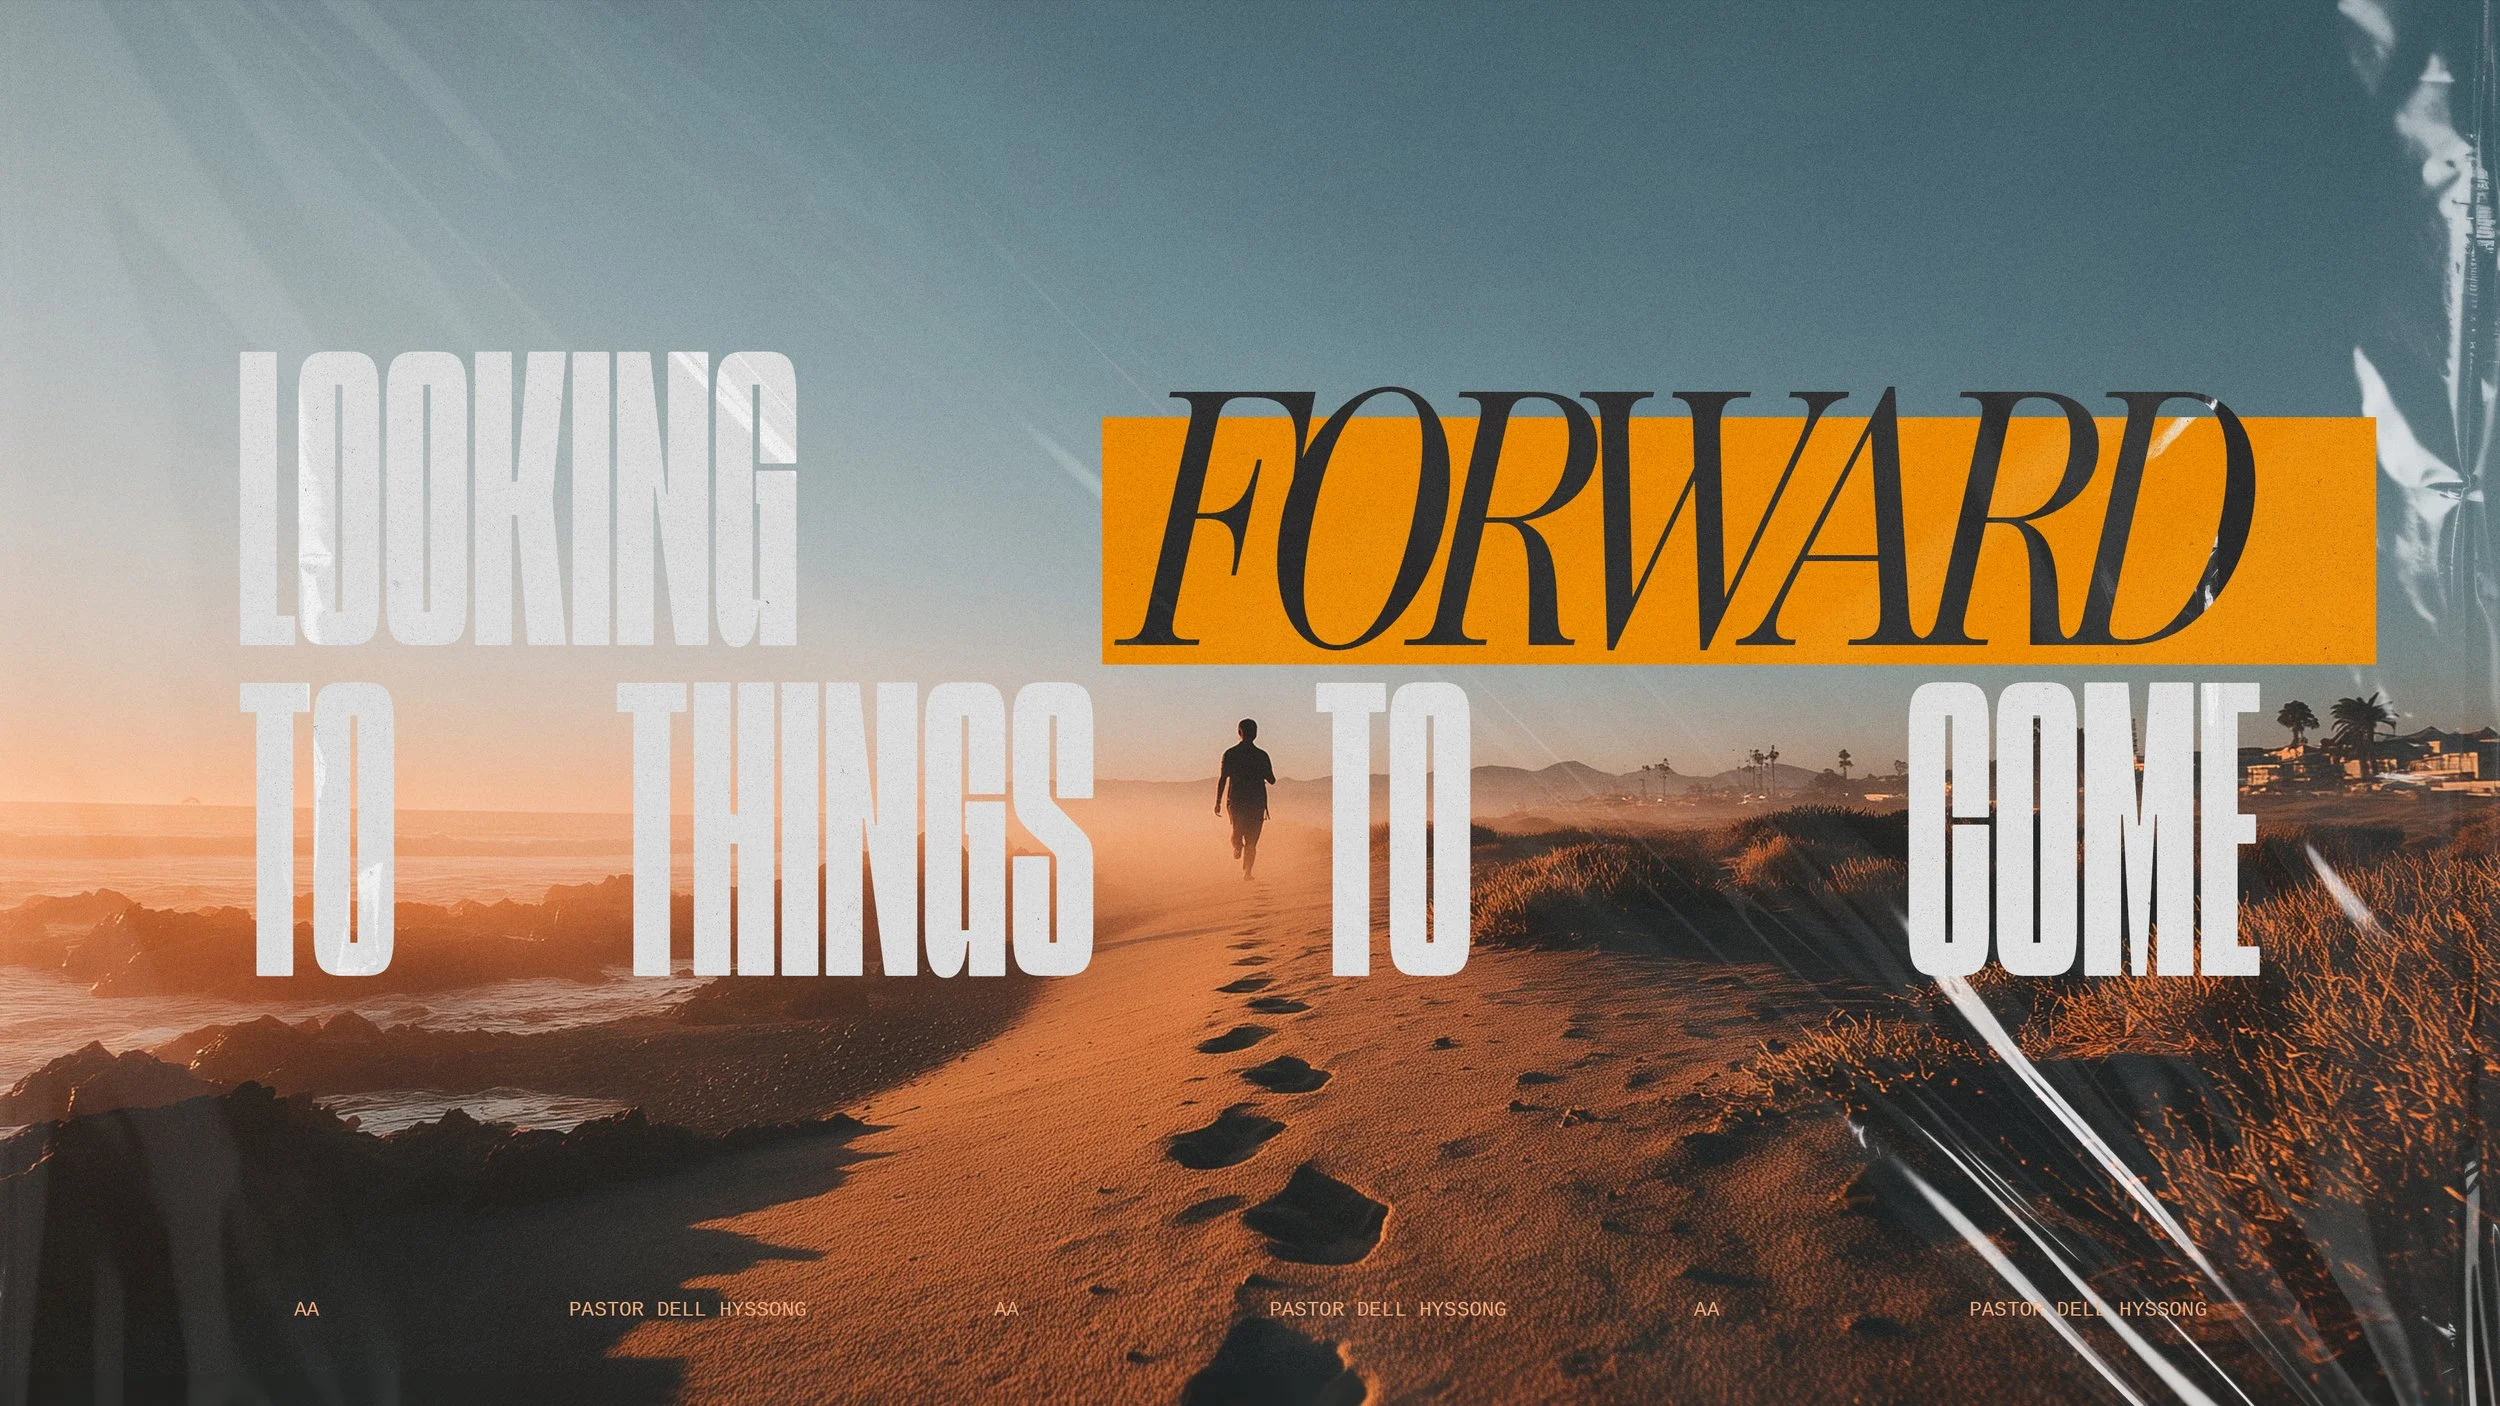
This graphic I made in 2021 has great visual hierarchy: Your eye should immediately read the title, then the subtitle, then see how the imagery supports that title. Chef’s kiss!
You can create this hierarchy of information by using:
Composition (size and placement of elements)
Color (contrast to highlight priority text)
Typography (bolding or sizing headings vs. body text)
When the right information is prioritized, your audience won’t just see your design—they’ll actually understand the message.
2. Font Pairing
Fonts set the tone of your design. Too many fonts? Chaos. Just one font? It can feel flat.

Only two fonts needed!
A simple rule of thumb: use only two fonts in a design. Choose one for headings and one for body text. Keep clarity more important than “cute.”
Think of your fonts as voices in a choir—if everyone’s singing their own part, it’s noise. But when the right voices blend together, the message comes through beautifully.
3. Simplify
When in doubt, take something away.

Habbakuk the prophet spoke the Lord’s “justice”—and that’s all that you need to see in this graphic!
Too many pictures? Remove one.
Too many “important” lines of text? Cut it down.
Too many effects? Pull it back.
Clarity always wins. I like to pick one or two design “style” choices that anchor the whole piece. Sometimes that style is bold and maximalist (throwing everything at the canvas can work if it fits the message). But if you’re adding strokes, blurs, gradients, lines, and textures all at once… it’s probably too much.
Simplifying doesn’t mean making things boring—it means making the message impossible to miss.
Remember: Rules Can Be Broken
Here’s the thing about design rules: they’re not cages. They’re tools.
This series graphic has three different fonts—bad call? Or is the visual hierarchy intact, which means I can stretch the “rules” to be myself in my own style.
You practice the rules so you can learn when to break them on purpose—with intention, not by accident. Once you’ve mastered the basics of hierarchy, font pairing, and simplicity, you’ll know the right times to go bold and creative.
Final Thoughts
At the end of the day, church graphics aren’t about showing off your design skills—they’re about helping people see and understand the message of the Gospel clearly.
So this week, try these three free design tips and see how your work improves:
Prioritize information hierarchy
Use font pairing wisely
Simplify for clarity
Your church, your message, and your community will thank you for it. 🙌
Watch the full video here on YouTube:
👉 Want more tips like this? Subscribe to my YouTube channel where I share weekly content on church creativity, worship leading, and media design.